Part 2. Drawing Shapes Using for-loops and Animation
In part one of this blog, I showed you how you could go about using the canvas element to create shapes in your browser.
We started by making squares and rectangles that we could see on the DOM and editing their attributes such as size and color. Now, I will show you how to animate those shapes.
To get started, let us look at the code that we have so far.
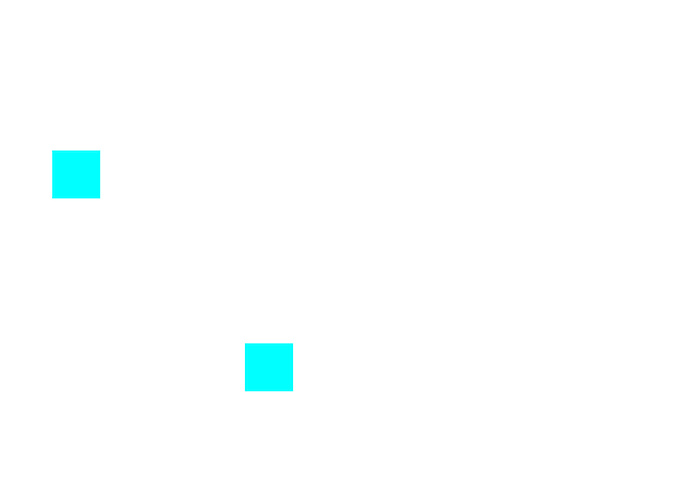
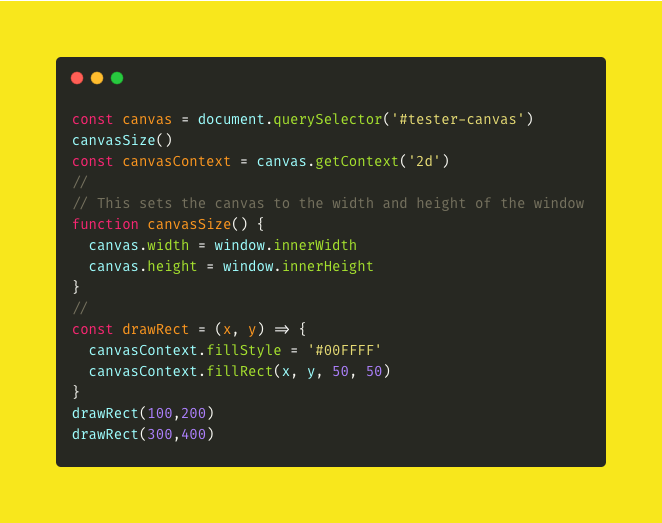
To add in circles, we are going to use the .arc() method. The documentation for that method can be found on MDN. The .arc() method takes five required arguments and an optional sixth argument:
x: The horizontal coordinate of the arc's center.y: The vertical coordinate of the arc's center.radius: The arc's radius. Must be positive.startAngle: The angle at which the arc starts in radians, measured from the positive x-axis.endAngle: The angle at which the arc ends in radians, measured from the positive x-axis.anticlockwise: OptionalBoolean. Iftrue, draws the arc counter-clockwise between the start and end angles. The default isfalse(clockwise).
The x and y arguments are similar to the arguments for the .fillRect() method, which is what we needed to create the rectangle and square in part one.
The X and y correspond to where the coordinates of the circle are in the browser window. The startAngle I will start at 0 because we want our circle to start at an angle of 0 and the endAngle will be the 2 * Math.PI which is equal to 2π radians or 360°.
I encourage you to play around with the endAngle and the startAngle and see what you get as you change the values.
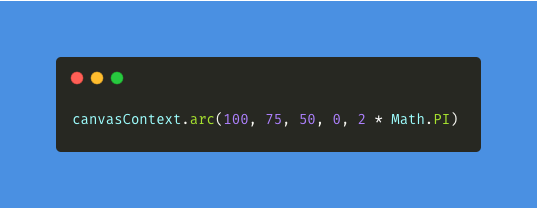
When you add this method to your code, you will not see anything in the browser. It will be similar to how we were not able to see the canvas when we initially made it in part one.
To see the circle, we are going to have to add a fill or stroke property to it and in this case, I am going to use .fill(). This will make our circle visible.
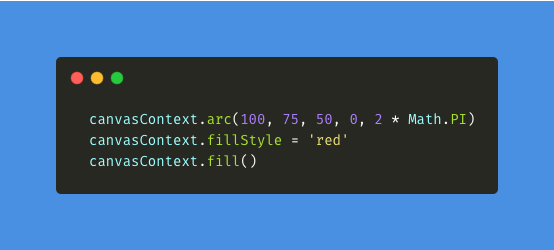
Now, what if I want to change the color of my circle?
We will use the .fillStyle property. This can be used for any shape as it will change the stroke color, gradient, or pattern for that shape. In the case of our circle, I want to make it red.
Note: The shape that you make will take on the .fillStyle property that precedes it. That's why I have it before each .fill() method.

Remember when I mentioned using a for-loop to create circles?
If you are not familiar with how to use a for-loop, check this out the documentation. We will use a for-loop to add circles.
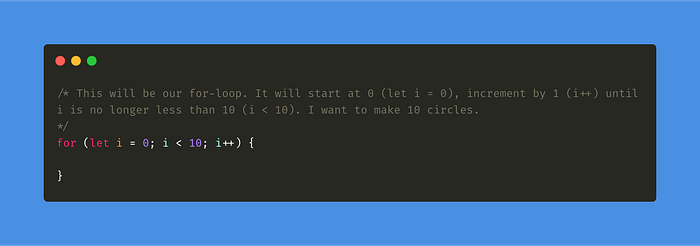
Inside the curly braces, (or, as my instructor calls them, "curly boys"), we will put the code from the previous image.
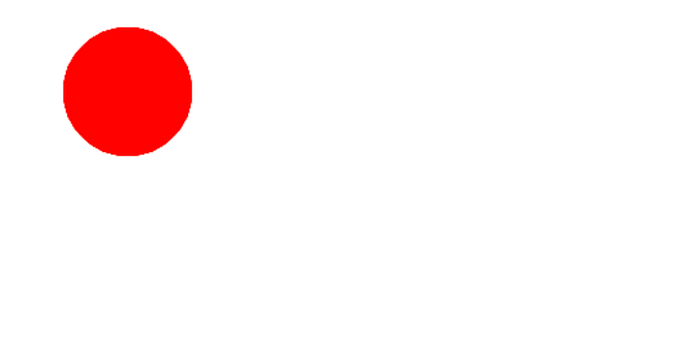
Our loop is working, but we are not changing x and y arguments on each iteration of our loop. The circle is just drawing over itself ten times.
To change this, we can use the Math.random() method for our x and y values. And, to make sure that the circles stay as circles, I will introduce the .beginPath() which will make sure that on each iteration of the loop, a new circle is created with its own path.
If you are not sure what this means exactly, try running this loop without adding in the .beginPath() and see what you get.
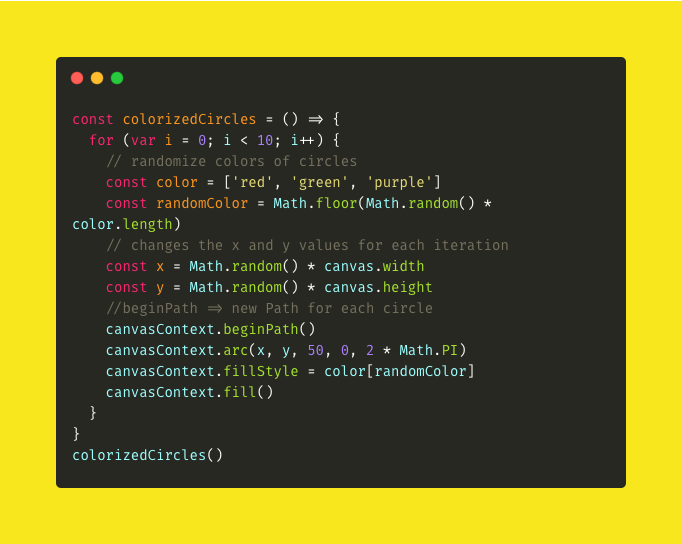
I will make this into a function called colorizedCircles.
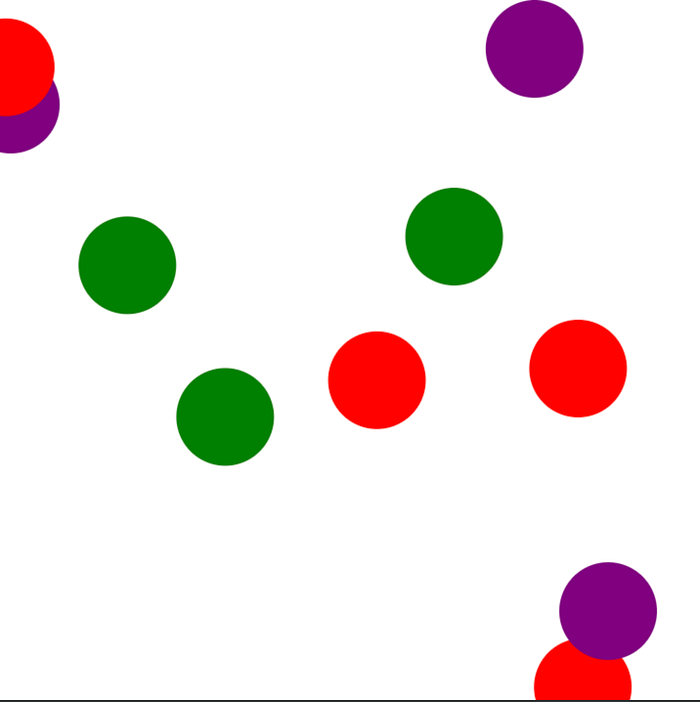
Now that you know how to implement a basic for-loop to make more than one shape at a time, let's get to the fun part of animating them!
Animating Your Shapes
OK, finally we are getting to the fun part of animating with JavaScript.
We are going to use the .requestAnimationFrame()method. This tells the browser that you want the animation to occur and it becomes the browser's job to call a function that will update the animation before it makes another one.
The .requestAnimationFrame() takes one argument and that is a callback (according to MDN):
"
callback: The function to call when it's time to update your animation for the next repaint. The callback function is passed in one single argument, aDOMHighResTimeStampsimilar to the one returned byperformance.now(), indicating the point in time whenrequestAnimationFrame()starts to execute callback functions."
How this works is that it is refreshing the page and on each refresh, the shape moves x, y values. We are first going to start by incrementing our circle's x and y values and watch it move.
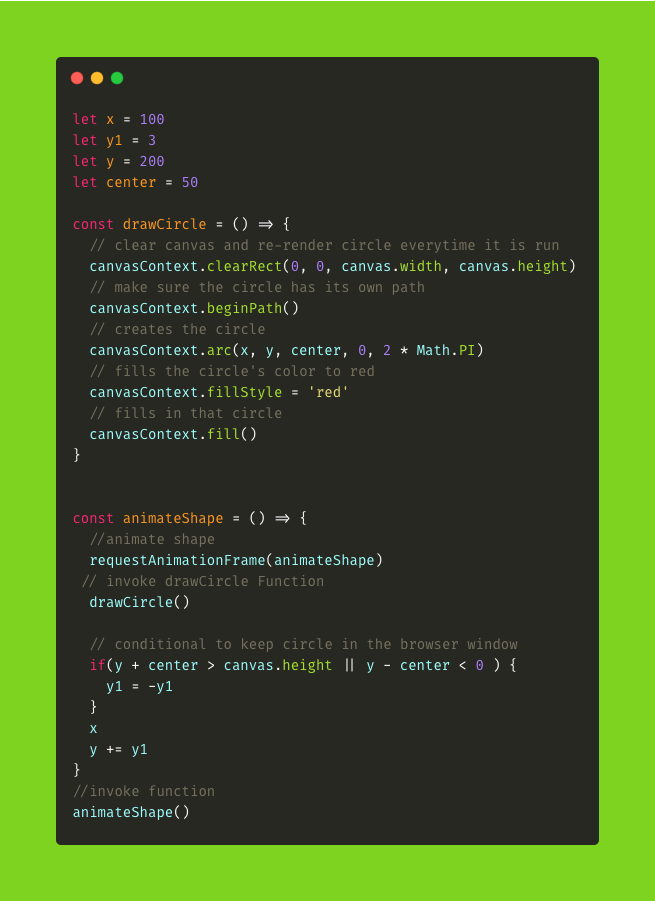
I am going to create a function called animateShape. I am going to set a variable of x and y outside of the function and for as long as the function runs, I am going to have x increment by 0.5 and y by 1.
Try playing around with the values. You may notice that it can affect the speed of the circle's movement.
I will create another function called drawCircle that is in charge of creating our circle. I will then invoke drawCircle inside of my animateShape function so that it will animate the circle we just created.
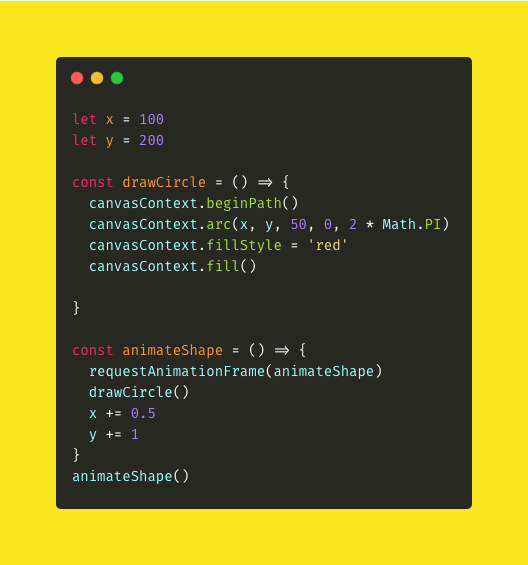

This is really cool, but our shape is becoming one moving blob and that is not actually what we want at the moment.
Instead, we are going to need our canvas to clear the page before it renders a new shape. This is similar to why we needed to use the .beginPath() method when we initially made our circles with our randomized loop.
To fix this, we are going to need to use the .clearRect() method. This will clear out our canvas before each new page refresh and then draw on it.
.clearRect() takes four arguments:
x: The x-axis coordinate of the rectangle's starting point.y: The y-axis coordinate of the rectangle's starting point.width: The rectangle's width. Positive values are to the right, and negative to the left.height: The rectangle's height. Positive values are down, and negative is up.
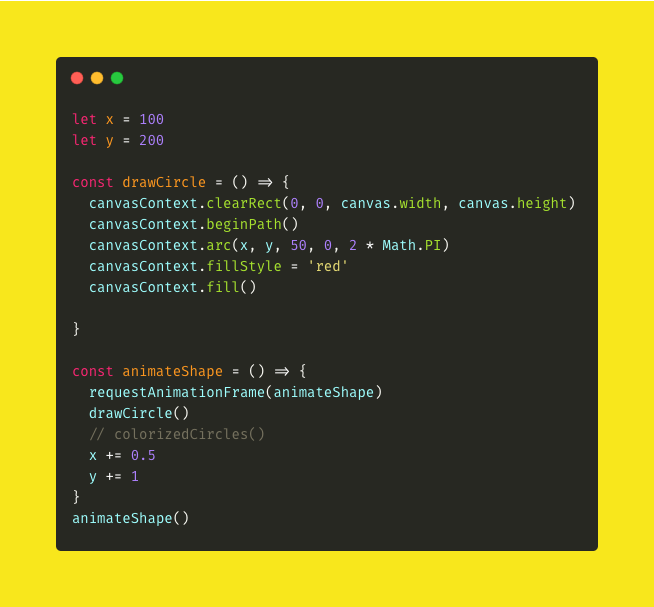
To get the circle to be a new render of a circle, we should make the x and y values stay at 0 in the .clearRect() and make the other two arguments be equal to the width and height of the canvas.
Side Note
The great thing about splitting actions up into smaller functions is that you can invoke them in different places and reuse them. (It is also good for debugging purposes with larger code.)
In the code, I have the colorizedCircles function that we made before commented out. Try uncommenting the colorizedCircles function and comment out the drawCircle function and see what happens.
Warning: If you are sensitive to flashing movements do not do this: e.g. if you have epilepsy.
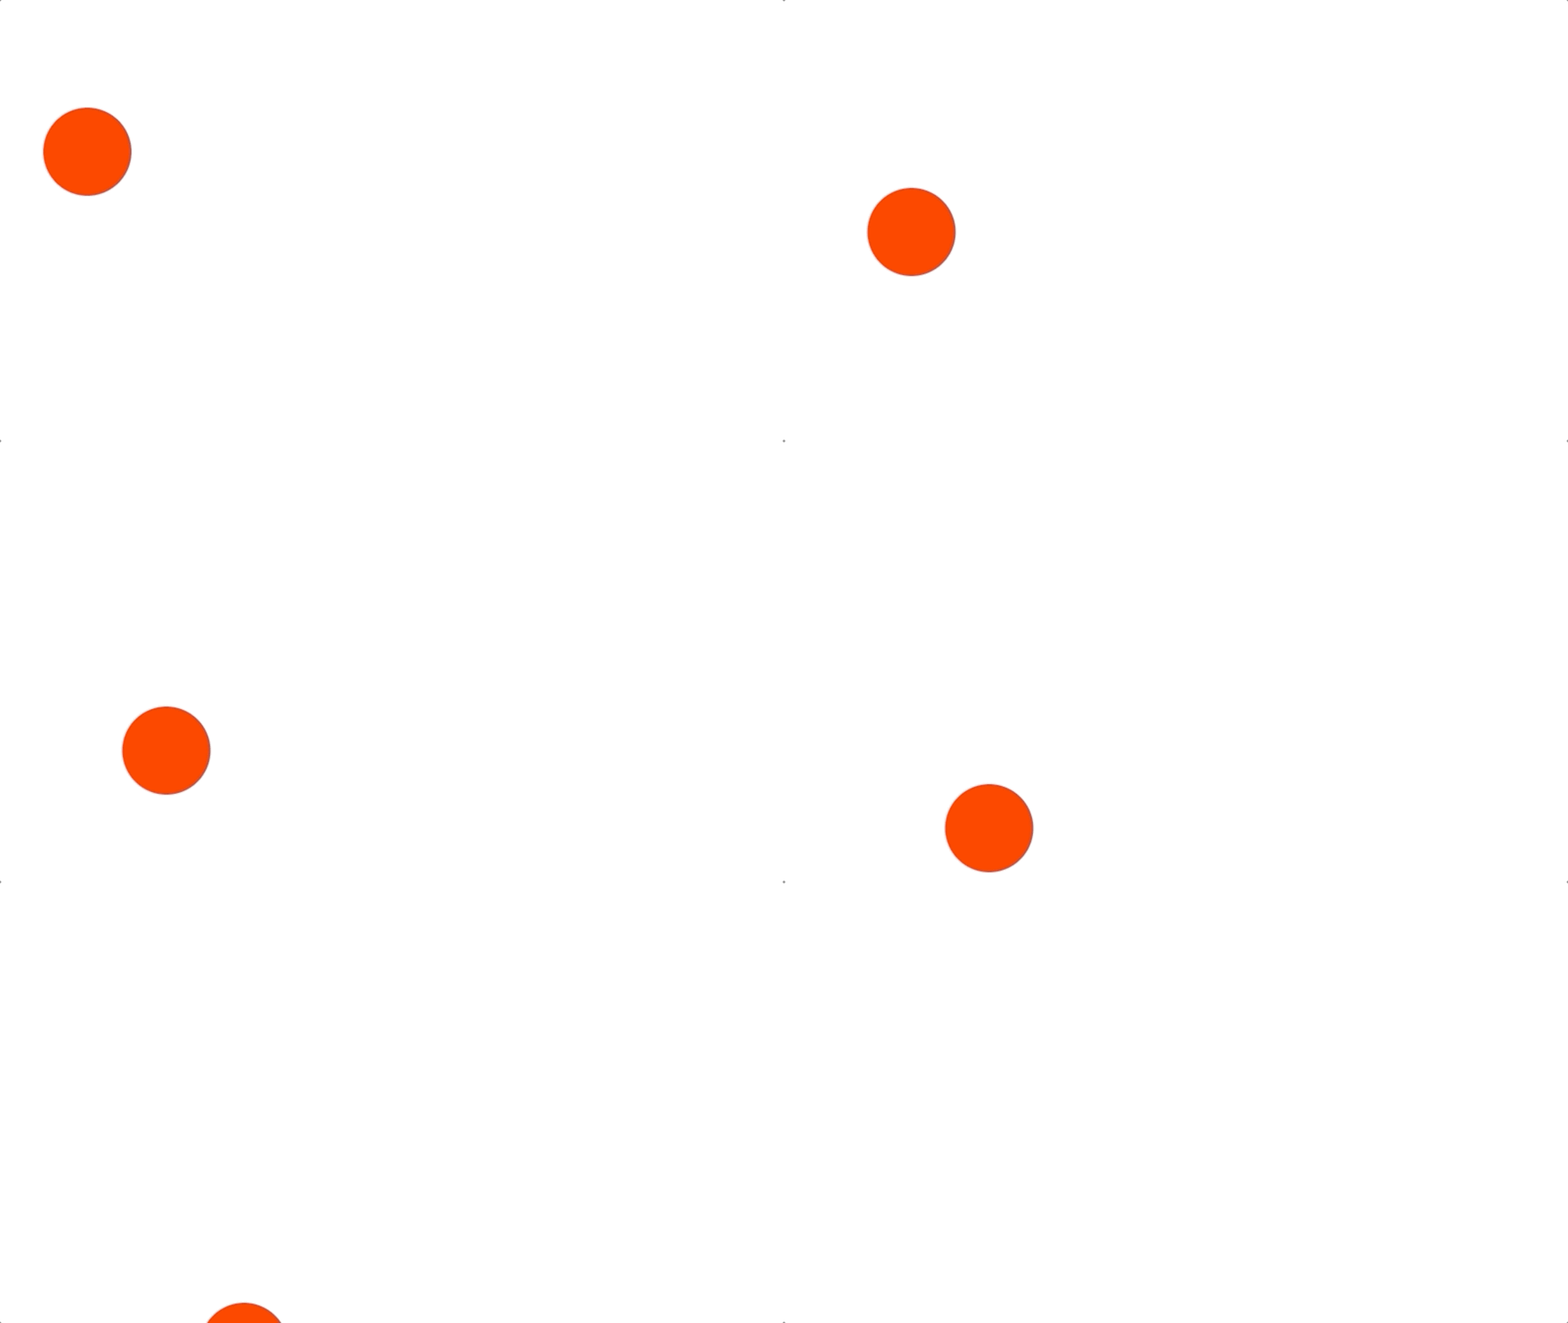
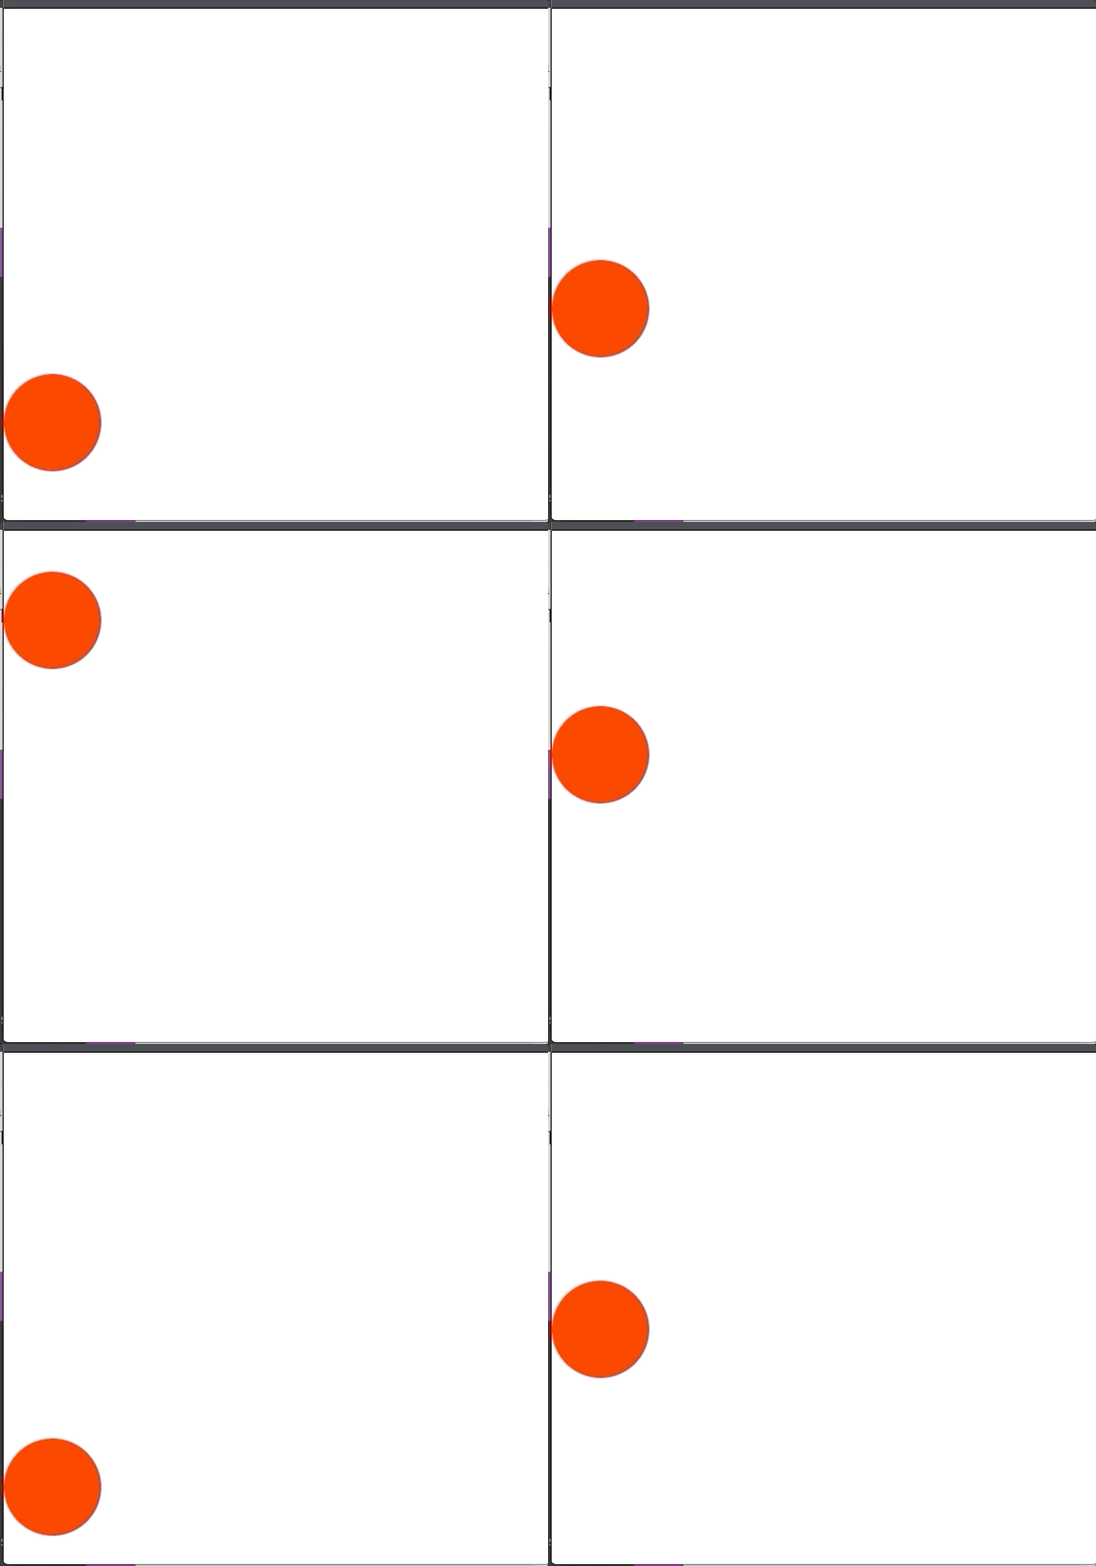
This is the result of adding the .clearRect(). However, the ball moves off the screen.
To fix this, we need to add a conditional to our function that will keep our shape confined to the window. There are a few things to take into account when implementing this conditional:
- As our shape increments its
xandyvalue, as shown in the code above, it continues in that direction with thexandyvalues getting larger. - At what point should our shape decide to stop and go in the opposite direction?
In the first point above, I mentioned that the x and y values are incrementing and the shape continues in that direction. How should we stop that?
One way is by turning the number we are incrementing our x or y value by into a negative number. Let us create another variable called y1 that is equal to 3.
Then, instead of our y variable incrementing by += 1, we will have it increment by the value we set to y1. This way, we can easily change the y1 value for our conditional.
Now, in point two above, I mentioned taking into account the circle's radius. Make sure that, if you want to make the circle bounce off the screen at the edge of the circle, you put in y + center in the conditional and put our center variable into the radius argument in the .arc() function.
Now, in our if statement, if the y + center is greater than the height of the window, then reverse the shape's direction. Since y1 is equal to 3, it will now become -3.
The reason we are adding the center/radius is so that the circle does not bounce off the window at the center of the circle, but rather the edge of the circle.
We also add an ||to the right side of our conditional. This will say y — center < 0. This checks to see if the y - center is less than 0. If so, turn -3 back into a positive 3 and go the other direction.
Conclusion
Hopefully, this tutorial was able to give you an overview of creating and animating basic shapes. I hope this gave you the tools to go out and try experimenting with other shapes and how to animate those.
Check out the MDN documentation: intro to canvas animations.
For an added bonus, another great resource is a JS library called Three.js. This can help you make 3D shapes.

