


What is vulnerability scanning?
Vulnerability scanning is the inspection of digital systems to find weaknesses and is an important compliance requirement of many regulatory bodies.
Here's how I like to think about it: Vulnerability scanning is like walking through your home and checking for ways an intruder could get in:
- A window without bars or locks = an open port with no protections.
- A cracked wall = outdated software with known bugs.
- A flimsy door = weak passwords.
Patching is like adding locks, repairing cracks, or installing gates to make the house safer.
Another analogy to consider is car maintenance. It's like running a diagnostic scan on your car: low tire pressure, bad brakes, or a check engine light. You fix them before the car breaks down or becomes unsafe.
Types of vulnerability scans include:
Authenticated scans — scans that require the subject host's credentials. They're more detailed and identify the vulnerabilities that can be exploited by attackers having access to the host. Authenticated scans provide deeper visibility into the target system by scanning its configuration and installed applications. An example of this type of scan would be scanning an internal database by providing its credentials to the vulnerability scanner.
Unauthenticated scans — scans that do not require the host's credentials (all that's needed is an IP address for a host or a network range for a network). These scans identify the vulnerabilities that can be exploited by an external attacker having no access to the subject host. These scans use fewer resources and have a more straightforward setup. An example of this type of scan would be scanning a public-facing website for vulnerabilities that any user can exploit.
An internal scan is conducted from inside the network and focuses on vulnerabilities that can be exploited from outside the network. These scans identify vulnerabilities that would be exposed to the attackers once they get inside the network.
An external scan is conducted from outside the network and focuses on the vulnerabilities that can be exploited from outside the network. These scans identify the vulnerabilities exposed to the attacker from outside the network.
When you run a vulnerability scan with a tool like OpenVAS, you don't just get a list of problems — each finding is usually tied to a CVE ID (Common Vulnerabilities and Exposures). Think of this as the vulnerability's "license plate number" in a global database of known flaws.
Each CVE ID has a specific format:
- CVE- → prefix that marks it as a registered vulnerability
- Year → when the vulnerability was published/discovered
- Digits → a unique identifier, often four or more numbers
For example: CVE-2023–12345 might describe a flaw in a specific version of Apache. The year tells us it was published in 2023, and "12345" is its unique entry number. The CVE system is maintained by MITRE Corporation, which also develops the ATT&CK framework.
Alongside that, each issue is scored with CVSS (Common Vulnerability Scoring System). This is a 0–10 scale that tells you how severe a vulnerability is, from low to critical. For example, a weak password policy might be scored as medium, while a remote code execution bug could be critical.
Together, CVE and CVSS help you make sense of the scan results — which ones need patching right away, and which ones can wait.
The CVSS scores work like this :
- 0.0–3.9 → low severity
- 4.0–6.9 → medium severity
- 7.0- 8.9 → high severity
- 9.0–10 → Critical severity
How I Started with OpenVAS
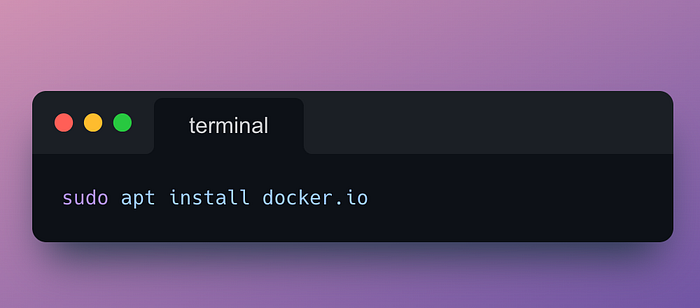
I set up OpenVAS in an Ubuntu lab environment. Since OpenVAS runs inside a container, my first step was installing Docker. Docker is a platform that makes it easier to create and distribute containers — lightweight, portable packages that bundle applications with everything they need to run.
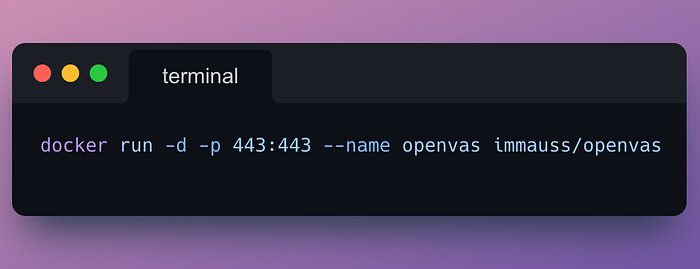
Once Docker was ready, I pulled down the Immauss OpenVAS container, which made setup much faster than building from scratch. Running the container mapped OpenVAS to port 443 on my machine, so I could open the web interface at https://127.0.0.1. After logging in with the default credentials, I was greeted by the Greenbone Security Assistant (GSA) dashboard — and ready to launch my first scan.
OpenVAS makes you walk through a handful of setup steps — like defining a target, configuring a task, and choosing a scan type. Once I had those in place, I finally got to hit Start Scan.
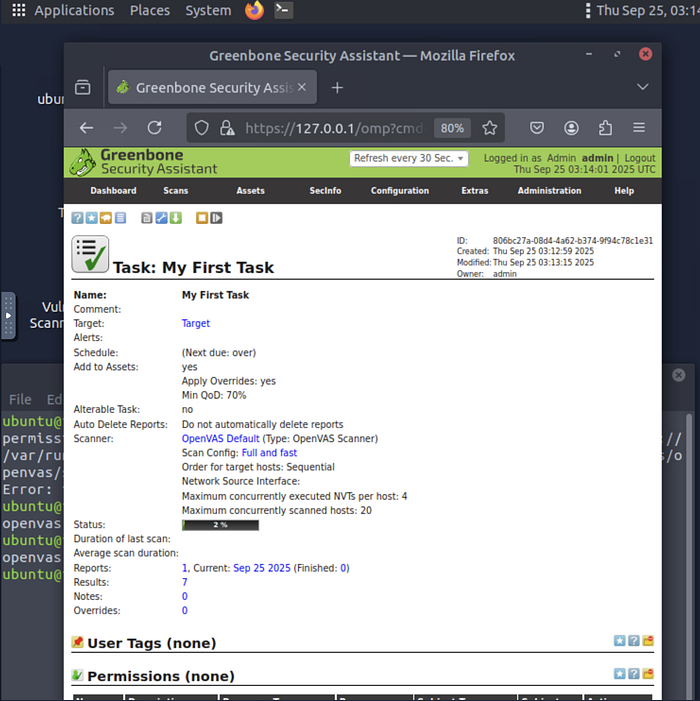
This was my very first OpenVAS task. I named it My First Task and chose the "Full and fast" scan config. The scan ran sequentially across hosts, and I let it apply overrides. At this point, the scan had just started — you can see the status bar at 2%.
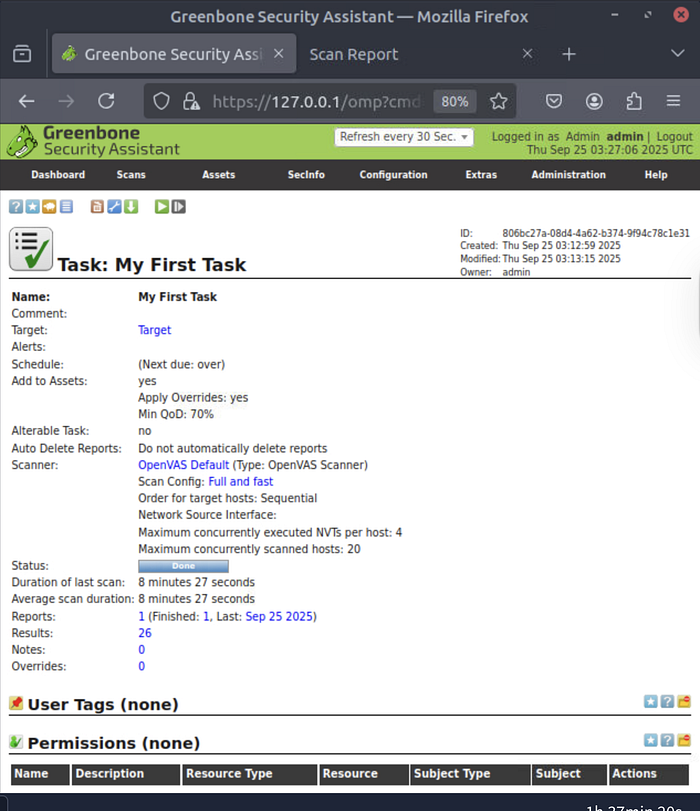
Here's the finished task summary. The scan lasted 8 minutes 27 seconds, producing 26 total results. From here, I could dive into each vulnerability in more detail, review suggested fixes, and prioritize which ones to patch first.
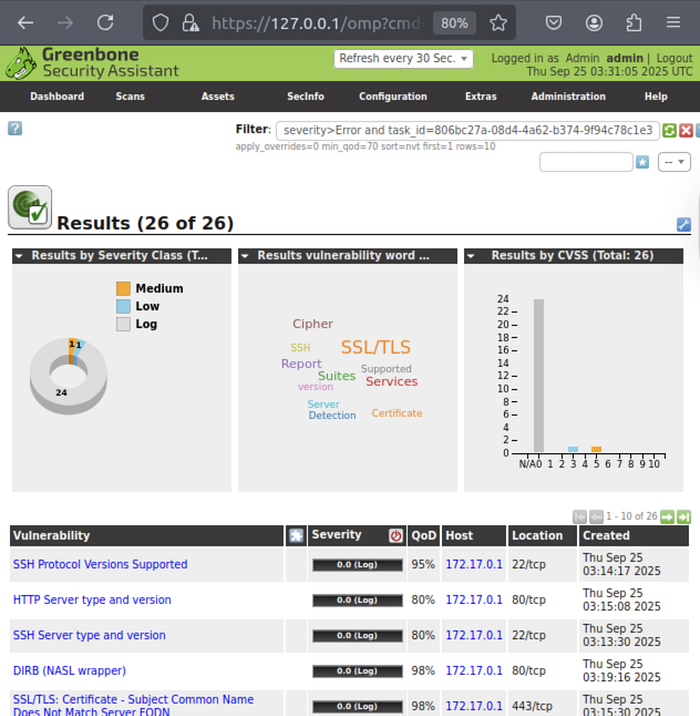
The scan finished with a total of 26 findings. The majority were low-severity or logs, with 1 medium vulnerability. The dashboard shows:
- A pie chart of severity classes
- A bar chart of vulnerabilities by CVSS score
- A word cloud of common terms (SSL/TLS popped up a lot in mine) This kind of visualization helps you quickly spot patterns.
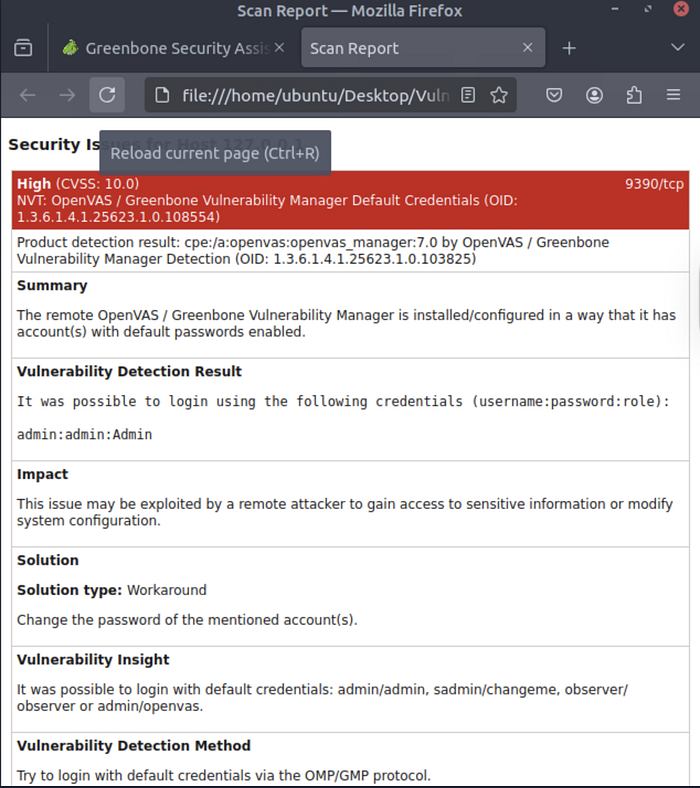
This was one of the biggest eye-openers of my scan. OpenVAS flagged a critical vulnerability (CVSS 10.0): the system was using default credentials (admin:admin).
- Impact: If left unpatched, an attacker could log in with these defaults and completely control the system.
- Solution: Change the default password immediately. It's a textbook example of why hardening even a fresh install is so important.
Seeing a CVSS 10 flagged on my very first scan really brought home why default credentials are such a big risk — and why even 'basic' hygiene steps can make or break security.
Wrap up
Running this first vulnerability scan with OpenVAS was such a proud moment for me. Up until now, most of my cybersecurity learning has been theory — reading about CVEs, CVSS, and scanning tools. Finally getting hands-on, setting up the environment, running the scan, and seeing real vulnerabilities pop up (including a critical CVSS 10!) made everything feel real. I can't wait to keep practicing, dive deeper into authenticated scans, and learn how to remediate the issues I find. This is just the beginning, but every lab like this makes me feel one step closer to becoming the security analyst I want to be. Theory is great, but this lab reminded me: nothing beats hands-on practice.